Showing posts with label Bacon. Show all posts

Thursday, April 25, 2013

Freezer Meals

I've learned so much in my first years of parenting. One of the most easy to remember is particularly easy because it's still a frequent reality - the need to prepare food and eat.

When my husband and I were still dating I remember once, when he reached his newest duty station that I prepared a lot of his favourite foods and then froze them. Overall it went pretty well. He ate just fine while I wasn't around and it probably saved him a bit of money.

I'd forgotten about freezer meals until I came across a pin about them on Pintrest. The moment I saw the pin I knew that was what I was going to need in preparation for our newest little bundle of joy - especially with a two year-old and a puppy in the house as well.

Ready to and eager to begin making and freezing meals I had to wait until when I thought would be the best time to make them. Although you should be able to safely eat a freezer meal a year later - you run the very high likelihood of the dish losing a lot of its best flavor in that time.

Nearly mid-February I was so ready to plunge in, but not due until April I knew it was best to hold off. I was fortunate enough to be able to spend some of my puppy money on a 17 dish set of glassware from Amazon,
they are freezer, microwave, and top-rack dishwasher safe. I was still going to need something oven safe in my arsenal. I still had my online baby shower so I decided to wait and hope that people would order the other, smaller glassware sets that I'd added to the list for use in freezer meals.

I kept looking around online for a solution to my oven safe issue and found Sanctus Mundo airtight containers with stainless steel lids. Unfortunately they are super duper pricey so I had to think about if there were any other options or if I was really going to have to spend the last of what I had on those containers and once again forgo other things I needed as well.
I had to decide against them :(

There were Pyrex containers that were comparably more affordable, but only one of the sets I saw said that the lids were BPA free.
My parents vacuum seal and freeze food but I didn't have a vacuum sealer and preferred to avoid that sort of excess, possibly toxic plastic touching our food and feeding our landfill.

Before you begin freezing make sure that your freezer is set at the proper temperature and that all of the vents are not blocked. You will need for vents to still be accessible when you put food in otherwise your freezer will not maintain its proper temperature. Ideal temperature for your freezer is  0 Fahrenheit (-18 Celsius) for storing food. And -10 Fahrenheit (-23 Celsius) is recommended when freezing food. Make sure it's properly set at least 24 hours in advance.

Generally it seemed that freezer meals last 3 - 6 months. I put together a chart of collective info I saw on how long things should remain frozen:

Fruits and Vegetables – 6-12 months
Fruit pies, unbaked: 8 months
Poultry, uncooked – 9-12 months
Poultry, cooked – 4-6 months
Fish – 3-6 months
Lean fish: 6 months
Fatty fish: 2-3 months
Shellfish, uncooked: 3-6 months
Ham, cooked: 1-2 months
Bacon: 1 month
Chops, uncooked: 4-6 months
Meat, Roasts, Steaks, etc; uncooked – 4-12 months
Steaks, uncooked: 6-12 months
Ground Meat, uncooked – 3-4 months
Meat, cooked – 4 months
Cured or Processed Meats – 1-2 months
Casseroles – 2-3 months
Soups and stews – 2-3 months
Butter: 6-9 months
Bread and cake: 3 months
Cookies, baked or dough: 3 months
Ice cream and sorbet: 2 months

There was one other thing standing in the way of making freezer meals right that second. I still had frozen food waste in our large freezer. Thankfully, I had a plan for that.

Related Reading:
Getting Started: How Long Do Meals Last?
How Long Will Food Last in the Freezer? 
Issue #18: Safe Containers for Freezer Meals Five Best Containers for Frozen Food Storage
Plastic-Free Freezer Storage
Ideal Freezer Temperature 

Monday, February 11, 2013

Breakfast Using My Home-made Butter

I now had a quart of buttermilk and no plans for it.
I also had a lot more whole milk than planned as well.
 Pancakes seemed like a great way to use them. Usually my husband is the pancake maker in the house (there's a whole story behind that but I'll leave that for another day) but he uses mix from a box.

I searched the internet for a recipe that I thought sounded delicious and decadent that would make good use of the buttermilk, whole milk, and butter.

Having recently purchased some particularly wonderful bacon it seemed this breakfast may have been meant to be.
The only thing I could think to improve upon making special pancakes for the hubs was to add blueberries. Unfortunately these weren't fresh frozen so the result was mostly tasteless blueberries.

The pancakes were topped with some of the syrup of Vermont local my mother knows, regularly brings back from her trips home for her friends.
The recipe calls for you to keep your wet ingredients separate from your dry until you're ready to cook.
Be careful not to over mix your batter. Mix until your streaks of flour disappear.You better bet your butt I used organic flour ;p
 If it's a little lumpy that's okay. Mixing until you get a super smooth batter causes a chemical reaction between the acid in the buttermilk and the base of the baking soda. Over mixing or stirring causes will activate the gluten in your flour, leaving you with a tougher, more rubbery pancake - and nobody wants that (except maybe the dog.)

I ended up chickening out at the last moment and making my husband cook them on the stove while I watched. I would have felt terrible if I completely ruined breakfast. This recipe makes a very serious stack of pancakes.
At long last we had breakfast. It was delicious, but that organic bacon was actually so good that it out-shined the pancakes!

Friday, December 21, 2012

Pintresting BLT's

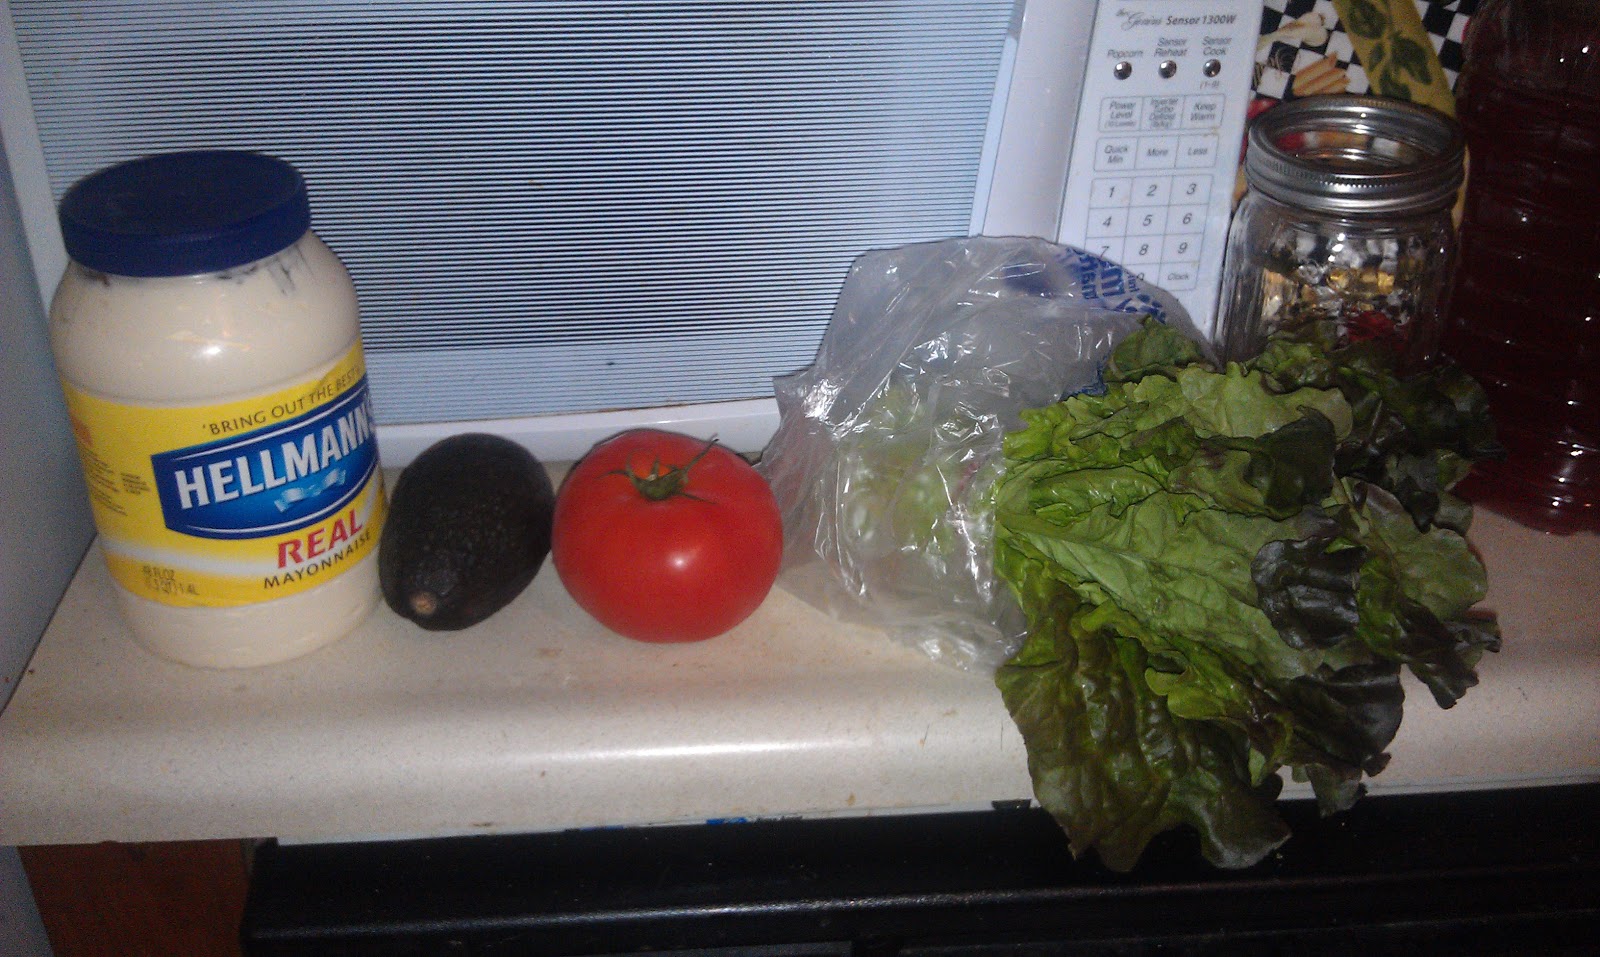
This pin has been making its rounds and I haven't forgotten the idea.Once again I bought some lovely sandwich making bread

and thought - I want a BLT.

I carefully wove the bacon

A package of bacon spread out a bit better on two cookie sheets.

I placed it in the oven at 300 degrees until it looked done, flipping the bacon once during cooking.

My husband hates vegetables  . . . and most condiments . . . and most cheese. So his sandwich was just bacon. I cut the woven bacon in half so it would fit the bread even better.

I on the other hand . . .
simply cannot get enough vegetables.
The center pieces of sourdough bread were long enough

that to avoid making a massive mess I cut the sandwich into three pieces.

It was every bit as delicious as it looks.
 Well the point of this post was to see how helpful trying this method really is, not just to show you my delicious dinner. Making the bacon this way really did end up making things easier and the sandwiches quicker to assemble, I also think it contributed to the low amount of mess my sandwich left me with versus the amount I'm usually left with.