Showing posts with label cleaning. Show all posts

Tuesday, June 18, 2013

Life With Less

Anyone who has ever helped me move, and I've moved a lot - can tell you that I have a lot of stuff. When I say a lot I'm really not exaggerating. When I moved from my beloved, native state of Virginia to Ohio I was able to fill a 26' UHaul with no issue and still ended up filling my Ford Escape. Does a single person need that much stuff? Does anyone!?

Both my father and my husband "like" to complain about all of my junk. My husband even tries to throw things away when I'm not looking. In my defense, there have been times when he's tried to throw out items still in boxes that we needed or items Ive been searching for. And my father would have me throw out all of my food when I moved if he had it his way - but this seemed insanely wasteful and I've always refused to throw away perfectly good food.

I even move my junk drawer. No joke. I'd get out a box and dump the drawer into it and "helpfully" label it, "junk drawer."

Filled with a desire to have more space, less things to have to pick up, and a house full of items that are actively in use rather than in storage I've set about drastically cutting down.

The bar chairs I bought for my first apartment have really only useful to me back then. In fact, recently my daughter pulled another girl off one and the chair came down on top of both of the. While this was a learning experience for all involved - the chairs mostly just took up space.
Four, three-legged, side tables that look like elephants bought for an apartment I lived in over seven years ago.
The list of things like this went on and on so I've been doing my best to utilize Craigslist to clear out the house.

For any of you who may also be interested in doing something similar in your own home I suggest you only get rid of items you're ready to get rid of. First, decide if this is what you want to do. Second, think about what areas you may want less clutter in. Third, pick out items you know you haven't been using and may never use again. Then once you're ready take action towards getting them out of your house.

Remember, books and household items can be sold in a variety of ways. I suggest Craigslist, second-chance shops, and consignment stores - I don't really have the time or patience right now to deal with eBay or Etsy to get rid of certain items.

You're best off not expecting to make tons of money from any of these options. I had a four and a half foot, wooden, corner cabinet with glass doors I put up on Craigslist for $35, and after having people ask me to take multiple measurements of the item I was told the price was too high and the item was smaller than they wanted. That's just the way Craigslist is.

There's also the option of just giving things away on either sites like Freecycle or to people you know. If you live in a city you're probably aware of how often people pick up things they find sitting near the trash that they want.

I'm sure anyone who helps us move again will in the very least be thrilled I've gotten rid of approximately *eight metric tons of books.

*slight exaggeration

Thursday, May 16, 2013

The Toy Library

For years I spent an average of three hours per day cleaning. That's just cleaning not my cooking as well. Recently (the last few years) I clean much more - the frequent minimum is four hours. I'm understandably exhausted from all of this cooking, cleaning, blogging, crafting, mommying, etc.

My he daughter had a play date last week which left me unimpressed with her behavior towards her toys. When she was still very young she had a completely reasonable amount of toys. I was able to set them up around a blanket she would play on for the day with no problem.


My father sweetly offered to make one for her in his at home wood shop but I knew he didn't currently have the time to take on such an endeavor and found myself accepting a plastic Fisher-Price toy box.

The toy situation is bordering on the absurd for me. Over the last year we have found my daughter climbing into her toy box and just about swimming in her toys!

What does any of this have to do with her play date the other week?

Despite what I feel was far, far more than the two girls would need to play with barely anything was played with.

I allowed the television to stay on during the entire visit, which the girls ignored until strangely deciding that the near ending of the movie Paranorman was fascinating (my daughter then asked to watch the movie again the next three days in a row.)

I felt that aside from the pitfall of the girls being aged 2 and 3 - both in the mind set of, "I-have-no-desire-to-share-anything-ever" that they were grossly overstimulated by a room overflowing with toys and a television that added to the goings on for hours.

Children that have way too many toys, it seems, have frequently been found to have feelings of entitlement that continue on throughout the rest of their lives.

First, I tried shuffling through her toys to find some that I could just get rid of. This was easier said than done. After two or three passes I had pulled out very little or what I considered, next to nothing.

If you're looking to get rid of any of your childrens toys - do it while they are asleep or someplace else, otherwise they see everything you're grabbing and suddenly want it.

Second, I looked through her toys to see what was "too much". Were any of these items so complete that there was no room for imagination left? Did I feel the kids would learn anything from owning these toys?

Third, I decided to start a toy library.

With the toy library toys your children have forgotten they even own are now more visible and may once again become items they enjoy playing with. Toys are not to be removed from your library unless they are exchanged for toys that are currently out and about in your home. I'm planning on seeing how this goes and probably making my first toy rotation in 1 - 3 months.

Also, by putting away as many toys as I could I hoped to decrease the amount of work I would have to put in several times a day putting away toys. No longer stepping on so many of them would be a welcome bonus.

I waited until my daughter was asleep and pulled out toy after toy. Some were no longer age appropriate - the baby toys went into a drawer in the nursery.
Some I no longer wanted in our home for one reason or another. I put them in a bag to deal with later.

There were toys I thought she was at a good age to play with now. Things that taught colors, numbers,  or shapes - anything that functioned as a puzzle of some sort; these are things that I left out for now.
I stuffed as many toys as I could into a foot locker that I would store in the floor of the closet in the nursery.
Once I had finished the living room toy area looked noticabley cleaner.
When I got my little lamb up from her nap I sat down and waited to see what, if any, her reaction would be to  this change.

Her first chosen stop was to the drawer in my night stand where I keep toys for her to play with in the bedroom. We hadn't seen her playing with those very much so that seemed like a good start. Over the last couple of days I have seen a definite increase in her focus with one toy for a longer period of time.

The other day she spent nearly the entire day playing mommy to a dolly I hadn't seen her touch in months.

The dolly took quite a few naps.

Pooped in her diaper and required immediate changing.
Relaxed in brothers swing.
Had tummy time with brother.

And my little sweetheart even decided what her dolly needed was some babywearing time.

Friday, May 3, 2013

What To Do About A Dishwasher Full of Beeswax Pt. 2

I really wish this didn't have to be a two-parter but sometimes that's just way the beeswax crumbles . . . all. Over. Your. Dishes.

You really can't go on very long with no clean dishes. If nothing else, this kind of mess attracts pests.

We removed all the offending dishes from the dishwasher and set them out to wait while we tried to clean the rest of them.
My husband expressed the completely reasonable concern that we should run the dishwasher with only one dish in it just in case there were gunk left in there. I suggested we run the dishwasher with a cup full of vinegar on the top rack.

This whole thing was so intensely wasteful of water that frankly I'm pretty ashamed and disgusted to admit to and post about my waste.

The next morning I tried boiling those mason jars you see in some water and seeing if they yielded a positive result.

It did not.

In the end every dish had to be scrubbed by hand in the hottest water we could stand. My grater will never be the same . . .

Thursday, May 2, 2013

What To Do About A Dishwasher Full of Beeswax Pt. 1

After my recent attempt to make cotton beeswax cloth you may remember I made a little mess of my new food processor. I put it into the dishwasher without a second thought and I really wish I would have thought a few minutes more before I did it.

Wash, after wash, after wash, after wash, after wash and my dishes still looked like this.
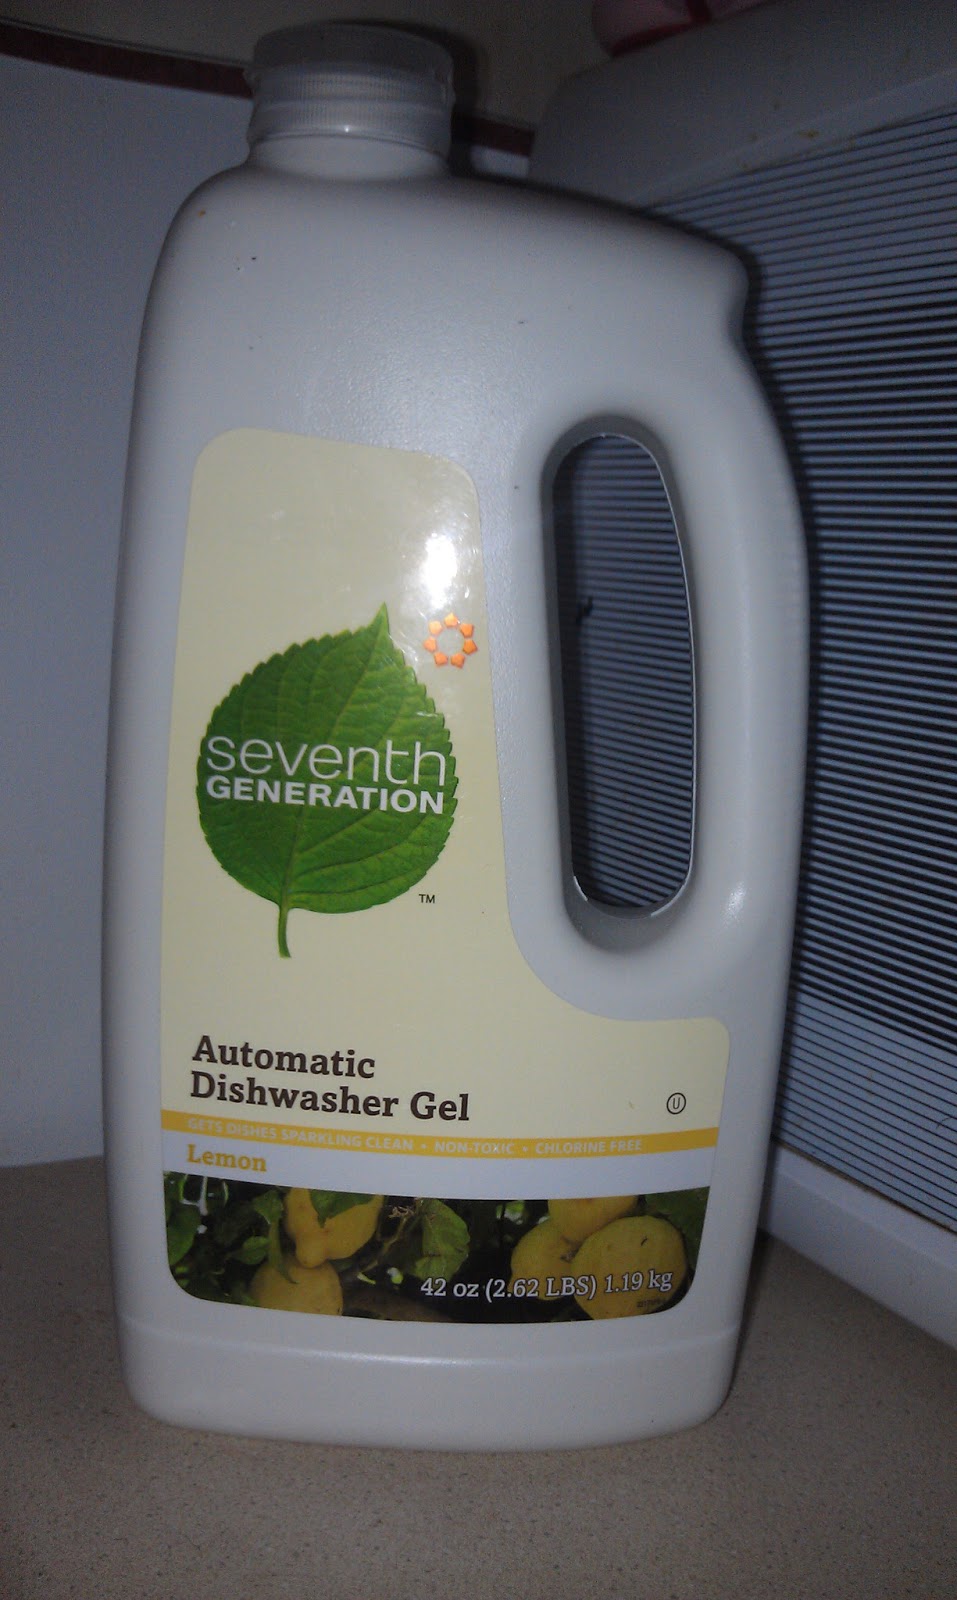
I tried my usual seventh generation dishwasher cleaner a couple times.
I tried seventh generation with a white vinegar chaser.

I tried baking soda in the washing compartment and a vinegar chaser.

It still looked bad . . verging on hopeless.
When you search online for ways to clean beeswax off of your dishes you really don't come back with much. This fact is only made worse when you have a dishwasher full of really messed up, beeswax coated dishes.

Eventually I came across a post where a woman mentioned the use of Goo Gone. I don't have any and I don't know a lot of about what's in it. Did I mention it was also snowing?

Alright Pintrest don't fail me now. I looked up DIY Goo Gone, deciding to put whatever I came up with into the dishwasher and hope that I didn't make the problem 917,230,127,471,934,279,842,703,827,598,709,835,709,482 times worse - which at the rate I was going seemed a lock.

The first pin I clicked and began to look at involved vitamin E oil, already having a lot of other uses for my vitamin E oil and preferring not to use it for this until I had to I chose a different one.

This one called for a 1:1 ratio of baking soda and vegetable oil. I knew I had baking soda and was relatively certain that I had vegetable oil. I thought to myself, "I'm DOIN' this!" - not like I felt like I had much other choice at this point.
Things get really serious in my kitchen pretty quickly.
I mixed my 1:1 using the last clean measuring cup I could find.
Mix it well - I only had about 4 spoons left, two of which were absinthe spoons, and another was an iced tea spoon.
Classy right? For anyone interested my absinthe spoons are reproductions of the type Henri de Toulouse-Lautrec used.
I poured approximately 1/3 cup of my goo gone into the washing compartment, turned on my washing machine and hoped my greatest hope that it would work.
After a cycle through the washing machine things were looking a bit cleaner albeit they felt a little oily.

Considering this a good sign I ran it again with my homemade Goo Gone to be followed up with vinegar.

Still oily but everything looked clean enough to clean it the usual way. The result was a bit dissapointing. Still oily, looked cleaner than it all began, but it seemed quite a bit of residue was still there!

I opted to change my game a bit and use this pin which calls to do the same thing as before but uses borax. I put the mixture on the dishes and left it to sit for a little while and then ran the dishwasher with the previous mix.

The dishes were improving but they still weren't coming out as clean as I needed. But after a day of trying to ash them the usual way and without any dish washing detergent and then today I needed a break. I'd have to try again the next day.

Thursday, February 28, 2013

Cleaning Crayon Off of Your Walls

I knew it would happen sooner or later. What I really should have thought about was the fact that it would happen when I wasn't looking.

My little lamb drew on the wall.

Well, I thought it was just one wall

- it turns out that it was five different walls.


No longer having any magic erasers in my house and not wanting to because of the harmful chemicals they contain I chose to go the old fashioned rout first. Water and a rag.

I'm happy to tell you that Crayola's Jumbo Crayons

 seem to be washable. With minimal wiping of my walls the crayon came right up.


If you find yourself in this position. Please try simpler, more natural options before turning to chemicals.

The offending crayon was put into time out.

Saturday, February 23, 2013

Revisiting Chemical Free Laundry Detergent

My very first try at making laundry detergent was acceptable but I didn't feel as wowed by the whole experience as I wanted and for a short period actually went back to using store bought (yet still locally made) laundry detergent. This is a fact that I feel worked out for me in the end because it left me with more suitable containers for my home made laundry detergent than I was previously using.
With a new baby on the way I've been considering making a bit more to have at the ready and storing it in empty milk jugs (I don't throw ours away. You might be surprised how often you can find another use for an empty milk jug.) Keep your eyes open for containers around your house in which to store this almost amount of laundry soap.

To begin you will need a bar of Fels-Naptha soap (which I shamefully purchase at my local WalMart), Borax (also purchased at WalMart, it can be found in the laundry aisle), and one of both of these optional ingredients I have also been using - tamanau oil and tee tree oil.

Begin by grating your bar of Fels-Naptha soap. I like to grate as finely as possibly so it will dissolve quickly and easily. Doing this over a large container like a bucket seems to be helpful because it catches shavings that might otherwise just sit next to you on your chair.

Once it's grated, if it isn't already in a large bucket or container, put it in one. The first times I made my detergent I used the largest pot I had available in the house.
Now, I have what I call my, "making stuff bucket" - it's a 3 gallon bucket that was given to me by my husbands grandmother.
You could also consider using something like an emptied out and thoroughly clean cat littler bucket - those are pretty large.

With your grated soap now in your bucket add a bit of hot water. I run my tap and let the water get as hot as it can. I add just enough to swish it around really well and dissolve it. Stir vigorously with whatever you've got on hand - I usually use a slotted or perforated spoon to get everything moving around really well.
Once you feel satisfied about how much of the soap you have gotten to dissolve add more hot water. You really don't need to finish filling the bucket just yet. Now add one cup of borax and vigorously mix once again. Sometimes the borax gets clumpy and if it does that it can leave you with lumps you later need to get out of your soap. It wont hurt anything but it can be a bit annoying. I've even plunged my hand into the bucket once or twice to finish breaking up offending clumps.

Your borax should now be dissolved into your mixture. Here is where the optional portion comes in. I add either 100 drops of tea tree oil or 50 drops of tamanau oil followed by 50 drops of tee tree oil. These oils have amazing anti-fungal and antiseptic qualities and I really feel they give my soap a phenomenal boost.

Finish filling your bucket with hot water - like I said I work with a three gallon bucket, if your container is smaller your soap will be a bit more potent or even thicker, we can take care of that later. Give your laundry soap another really good stir and then set it aside overnight.

When it's ready you should have a very thick gel in your bucket. When I try and finish up sooner than 24 hours I check to see if the mixture is ready by just jostling the bucket and seeing how solidly gelled it seems to be. If it's relatively immobile (meaning no sloshing) but shakes a little bit like jello (not exactly like jello but close enough) your soap can be considered ready.

In the past I used spoons to stir and break up my laundry detergent, this left me with what seems to be a common complaint/problem people have with making their own detergent. To really break it up and get it the best possible consistency (in my mind at least) I use an immersion blender. If you don't have an immersion blender I don't see a lot of reason why you can't try and have good success using your regular kitchen blender.
Once you now have a nice fluid you're ready to begin transferring it to the containers you plan to keep your soap in. I have four old laundry containers. Using a metal ladle because it seems to work the best with this fluid, I carefully begin filling each jug approximately half-way.
Once all of them are (half-way) full, add water, It really doesn't have to be hot water now so I just use whatever temperature comes out of the tap. Shake your container up really well to get it mixed together and you're done. Just put your laundry jugs wherever you keep them when not in use and they will patiently wait for you until you call upon them.

For anyone who was using a smaller container to mix their laundry detergent you can solve the issue of how much water you originally had by just evenly dispersing your soap across the amount of container you intend to use. Because I'm not there with you and have no idea what size container you are using as a general rule of thumb I won't recommend filling your container more than half-way with detergent. Try all of this out on only your first container so that you have the best chance of ending this experience positively.

Now that you've filled this "mystery container" half-way with laundry detergent, fill it the rest of the rest of the way with water. Shake the container and look to see how happy you are with the consistency. The key for me really seems to be evenly dispersing the amount of laundry soap across the amount of containers I plan to use.

I owe a lot of the success I now have in making my laundry detergent to the immersion blender my mother so kindly gifted me (she wasn't using it.) Thoroughly blending your detergent yields the highest rate of success in creating a laundry detergent that isn't lumpy.

Tuesday, January 29, 2013

Pintesting - Chemical-Free Cleaning - Emergency Dishwashing Detergent

There are so many things I can find to love about where I live. But when it comes to all things related to needing to call maintenance or to get whatever your issue is properly taken care of - this place kinda sucks.

My dishwasher broke again. The last time this happened maintenance took 2 1/2 weeks to show up and fix it. I really can't go through that again.
I was on my last couple of drops of my usual cleaner.

And on top of that I was running low on funds until the end of the week and my gas tank will read "E" if I go anywhere.

Today's pintest comes via this pin and the information found here.

Having already used some of my rose castille soap earlier in the day I didn't have enough to make the full 2 c the recipe called for - in fact, I only have 1/2 c.

My recipe ended up being:
1/2 c liquid castille soap

1/4 c water
1/4 c white vinegar
1 tbsp lemon juice

After putting all of this in a jar I gave it a shake and got down to work hand scrubbing as many dishes as I could stand.
The original poster mentions there is a lack of suds. This is true. Very true. Just keep on scrubbing. My dishes felt nice and clean when I was finished.
However, after all that cleaning all we were going to have for dinner was hot dogs.