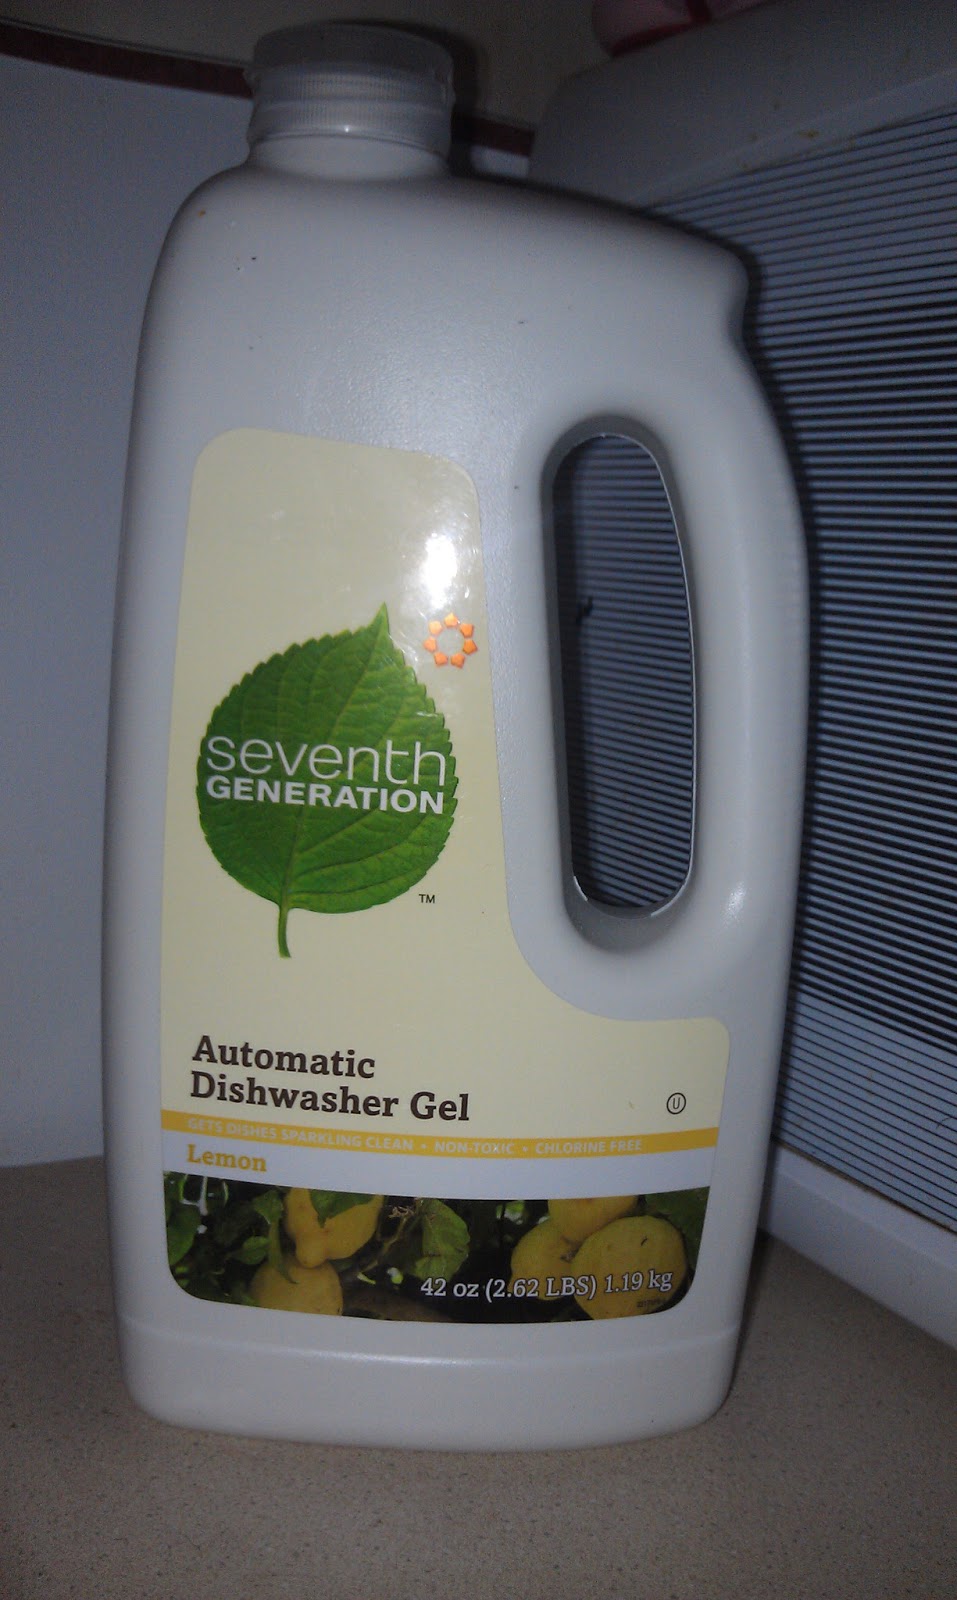
I do a lot of dishes and when I say a lot I mean I pretty much have to do them every day. Frequently I do more than one load a day. Dish-washing detergent is another one of those extra expenses I've just been living with.
Having long-since switched to an ecologically safe brand I could at least take solace in that fact. Not having to run out and buy more whenever I run out would be even nicer though.
I've tried other pins about making your own dish-washing detergent and have so far been left feeling incredibly unimpressed. This one is supposed to gel - a trait I found promising.
Today's pintest comes via this pin and the info found here.
Bring 8 cups of water to boil.
Turn off heat (I didn't have space to move the pot someplace else) and stir in washing soda, borax, and liquid castille until they dissolve.
I used a whisk to do this. It dissolved quite quickly.
Add 8 more cups of water and stir it in.
Pour cooled liquid into container of your choice.
I waited 24 hours for it to "gel" but it didn't look quite right so I waited another 24 hours. My gel was watery in places and chunky in others.
My husband tried it in the dishwasher and it left film all over our dishes.
I decided this may be one of those times where I was best off employing the use of my handy dandy immersion blender. I was really worried it was too late for this batch and that I would have to just try this again and use the immersion blender from the get go.
My first wash with the newly blended dish-washing detergent and a vinegar chaser produce sparkling clean dishes. My second attempt without the vinegar chaser left me with filmy dishes that I felt needed to be washed again.
Try, try again - I tried one more time but this time again with the vinegar in the jet dry again.
Showing posts with label kitchen. Show all posts
Monday, May 6, 2013
Friday, May 3, 2013
What To Do About A Dishwasher Full of Beeswax Pt. 2
I really wish this didn't have to be a two-parter but sometimes that's just way the beeswax crumbles . . . all. Over. Your. Dishes.
You really can't go on very long with no clean dishes. If nothing else, this kind of mess attracts pests.
We removed all the offending dishes from the dishwasher and set them out to wait while we tried to clean the rest of them.
My husband expressed the completely reasonable concern that we should run the dishwasher with only one dish in it just in case there were gunk left in there. I suggested we run the dishwasher with a cup full of vinegar on the top rack.
This whole thing was so intensely wasteful of water that frankly I'm pretty ashamed and disgusted to admit to and post about my waste.
The next morning I tried boiling those mason jars you see in some water and seeing if they yielded a positive result.
It did not.
In the end every dish had to be scrubbed by hand in the hottest water we could stand. My grater will never be the same . . .
You really can't go on very long with no clean dishes. If nothing else, this kind of mess attracts pests.
We removed all the offending dishes from the dishwasher and set them out to wait while we tried to clean the rest of them.
My husband expressed the completely reasonable concern that we should run the dishwasher with only one dish in it just in case there were gunk left in there. I suggested we run the dishwasher with a cup full of vinegar on the top rack.
This whole thing was so intensely wasteful of water that frankly I'm pretty ashamed and disgusted to admit to and post about my waste.
The next morning I tried boiling those mason jars you see in some water and seeing if they yielded a positive result.
It did not.
In the end every dish had to be scrubbed by hand in the hottest water we could stand. My grater will never be the same . . .
Thursday, May 2, 2013
What To Do About A Dishwasher Full of Beeswax Pt. 1
After my recent attempt to make cotton beeswax cloth you may remember I made a little mess of my new food processor. I put it into the dishwasher without a second thought and I really wish I would have thought a few minutes more before I did it.
Wash, after wash, after wash, after wash, after wash and my dishes still looked like this.
I tried my usual seventh generation dishwasher cleaner a couple times.
I tried seventh generation with a white vinegar chaser.
I tried baking soda in the washing compartment and a vinegar chaser.
It still looked bad . . verging on hopeless.
When you search online for ways to clean beeswax off of your dishes you really don't come back with much. This fact is only made worse when you have a dishwasher full of really messed up, beeswax coated dishes.
Eventually I came across a post where a woman mentioned the use of Goo Gone. I don't have any and I don't know a lot of about what's in it. Did I mention it was also snowing?
Alright Pintrest don't fail me now. I looked up DIY Goo Gone, deciding to put whatever I came up with into the dishwasher and hope that I didn't make the problem 917,230,127,471,934,279,842,703,827,598,709,835,709,482 times worse - which at the rate I was going seemed a lock.
The first pin I clicked and began to look at involved vitamin E oil, already having a lot of other uses for my vitamin E oil and preferring not to use it for this until I had to I chose a different one.
This one called for a 1:1 ratio of baking soda and vegetable oil. I knew I had baking soda and was relatively certain that I had vegetable oil. I thought to myself, "I'm DOIN' this!" - not like I felt like I had much other choice at this point.
Things get really serious in my kitchen pretty quickly.
I mixed my 1:1 using the last clean measuring cup I could find.
Mix it well - I only had about 4 spoons left, two of which were absinthe spoons, and another was an iced tea spoon.
Classy right? For anyone interested my absinthe spoons are reproductions of the type Henri de Toulouse-Lautrec used.
I poured approximately 1/3 cup of my goo gone into the washing compartment, turned on my washing machine and hoped my greatest hope that it would work.
After a cycle through the washing machine things were looking a bit cleaner albeit they felt a little oily.
Considering this a good sign I ran it again with my homemade Goo Gone to be followed up with vinegar.
Still oily but everything looked clean enough to clean it the usual way. The result was a bit dissapointing. Still oily, looked cleaner than it all began, but it seemed quite a bit of residue was still there!
I opted to change my game a bit and use this pin which calls to do the same thing as before but uses borax. I put the mixture on the dishes and left it to sit for a little while and then ran the dishwasher with the previous mix.
The dishes were improving but they still weren't coming out as clean as I needed. But after a day of trying to ash them the usual way and without any dish washing detergent and then today I needed a break. I'd have to try again the next day.
Wash, after wash, after wash, after wash, after wash and my dishes still looked like this.
I tried my usual seventh generation dishwasher cleaner a couple times.
I tried seventh generation with a white vinegar chaser.
I tried baking soda in the washing compartment and a vinegar chaser.
It still looked bad . . verging on hopeless.
When you search online for ways to clean beeswax off of your dishes you really don't come back with much. This fact is only made worse when you have a dishwasher full of really messed up, beeswax coated dishes.
Eventually I came across a post where a woman mentioned the use of Goo Gone. I don't have any and I don't know a lot of about what's in it. Did I mention it was also snowing?
Alright Pintrest don't fail me now. I looked up DIY Goo Gone, deciding to put whatever I came up with into the dishwasher and hope that I didn't make the problem 917,230,127,471,934,279,842,703,827,598,709,835,709,482 times worse - which at the rate I was going seemed a lock.
The first pin I clicked and began to look at involved vitamin E oil, already having a lot of other uses for my vitamin E oil and preferring not to use it for this until I had to I chose a different one.
This one called for a 1:1 ratio of baking soda and vegetable oil. I knew I had baking soda and was relatively certain that I had vegetable oil. I thought to myself, "I'm DOIN' this!" - not like I felt like I had much other choice at this point.
Things get really serious in my kitchen pretty quickly.
I mixed my 1:1 using the last clean measuring cup I could find.
Mix it well - I only had about 4 spoons left, two of which were absinthe spoons, and another was an iced tea spoon.
Classy right? For anyone interested my absinthe spoons are reproductions of the type Henri de Toulouse-Lautrec used.
I poured approximately 1/3 cup of my goo gone into the washing compartment, turned on my washing machine and hoped my greatest hope that it would work.
After a cycle through the washing machine things were looking a bit cleaner albeit they felt a little oily.
Considering this a good sign I ran it again with my homemade Goo Gone to be followed up with vinegar.
Still oily but everything looked clean enough to clean it the usual way. The result was a bit dissapointing. Still oily, looked cleaner than it all began, but it seemed quite a bit of residue was still there!
I opted to change my game a bit and use this pin which calls to do the same thing as before but uses borax. I put the mixture on the dishes and left it to sit for a little while and then ran the dishwasher with the previous mix.
The dishes were improving but they still weren't coming out as clean as I needed. But after a day of trying to ash them the usual way and without any dish washing detergent and then today I needed a break. I'd have to try again the next day.
Tuesday, April 9, 2013
Pintesting in the Kitchen - Cream Cheese Pancakes
Most nights I hit up Pintrest for diabetic-friendly recipes now. Planning ahead seems like the most likely way that I have a chance of eating anything.
If I wanted a bagel for breakfast I'd have to only 1/4 of it and my toppings would also end up limited. That's no fun for a girl who considers bagels a vehicle for cream cheese. I take cream cheese somewhat seriously - as a child I snacked on UTZ potato chips and cream cheese (much to the horror of my parents, especially my health conscious mother.)
I needed an actual breakfast food to enjoy in the morning instead of just some random recipe that would do the job.
Today's pintest comes via this pin and the information found here.
Yield: Four 6-inch pancakes
Put all ingredients in a blender or magic bullet.
As it turns out my mother gave me hers on my last visit home and I hadn't used it yet
Blend until smooth. Let rest for 2 minutes so the bubbles can settle.
Pour 1/4 of the batter into a hot pan greased with butter or pam spray. Cook for 2 minutes until golden, flip and cook 1 minute on the other side. Repeat with the rest of the batter.
I took a bite of these with no syrup and they tasted a little like dirt.
Serve with sugar free syrup (or any syrup of your choice) and fresh berries. I didn't have free syrup but I was almost certain the night before I read that generally, a serving size of syrup was a tablespoon so I put about a tablespoon on.
Bingo! It was now edible.
If I wanted a bagel for breakfast I'd have to only 1/4 of it and my toppings would also end up limited. That's no fun for a girl who considers bagels a vehicle for cream cheese. I take cream cheese somewhat seriously - as a child I snacked on UTZ potato chips and cream cheese (much to the horror of my parents, especially my health conscious mother.)
I needed an actual breakfast food to enjoy in the morning instead of just some random recipe that would do the job.
Today's pintest comes via this pin and the information found here.
Yield: Four 6-inch pancakes
Serving Size: 1 pancake
Ingredients
- 2 oz cream cheese
- 2 eggs
- 1 packet stevia (or any) sweetener
- 1/2 teaspoon cinnamon
If you're uncertain of how to tell if you have 2 ounces of cream cheese, I refer you to the size of the packet where, as I'd never bothered to notice before, there are markers telling you each ounce.
I don't have any stevia so I used 1 tbsp of raw, organic honey.
Instructions
Put all ingredients in a blender or magic bullet.
As it turns out my mother gave me hers on my last visit home and I hadn't used it yet
Blend until smooth. Let rest for 2 minutes so the bubbles can settle.
Pour 1/4 of the batter into a hot pan greased with butter or pam spray. Cook for 2 minutes until golden, flip and cook 1 minute on the other side. Repeat with the rest of the batter.
I took a bite of these with no syrup and they tasted a little like dirt.
Serve with sugar free syrup (or any syrup of your choice) and fresh berries. I didn't have free syrup but I was almost certain the night before I read that generally, a serving size of syrup was a tablespoon so I put about a tablespoon on.
Bingo! It was now edible.
Notes
Approx nutrition info per batch: 344 calories, 29g fat, 2.5g net carbs, 17g protein
Another great way to save on calories and sugar is to try to eat this in front of your toddler - you won't be eating the entire thing by yourself anymore.
Labels:
breakfast,
cinnamon,
cooking,
cooking test,
cream cheese,
cream cheese pancakes,
diabetes,
diabetic,
eggs,
food,
gestational diabetes,
honey,
kitchen,
pancakes,
pintest,
pintrest,
raw honey,
syrup
Tuesday, February 12, 2013
Pintesting - Heart Hot Pads
One of my oven mitts has a really nasty hole in a terribly inconvenient place for anyone who has no desire to get burned. I plan to fix it - but haven't decided what method I want to use to do so. Meanwhile .....
Today's pintest comes via this pin and the info found here.
The directions say you will need to make your own template or that you can print out the one provided. I'd printed it out but then lost it so I made my own.
I started by taking a manilla folder that wasn't being used and traced the outline of my hand. Try to center your hand over the fold.
Once you outline your hand fold the folder in half
and free hand a heart design that you find pleasing and that should encompass your hand.
Following your own guideline, cut out the heart.
Et viola - you have your template.
Place your template on the fabric you intend to use to make your hot pads and pin it in place. I layed my fabric in a way that would leave me cutting 4 pieces out at once - you can do one at a time or fold like I did.
Cut around your template.
You should now (or very soon depending on if you're cutting one at a time) have four hearts.
Get out your insul-bright.
Lay it out so that you are either cutting one or two pieces at a time. Pin your heart template to the insul-bright.
Carefully, once again cut around your heart template. You should now have two pieces of insulated fabric.
Cut one of your two pieces of insulbrite in half. Take one of your pieces of heart fabric. Place the insul-bright inside, fold your heart over and pin in place. Do this to one more of your cut pieces of heart fabric.
Take one of your pieces of heart fabric and set it with the right side facing down. Place a piece of insul-bright in the center. Place your remaining piece of heart shaped fabric on top and pin all three pieces together.
You should now have three pieces pinned together and nearly ready to sew. This was the point where I decided to trim all of my edges. Then remove your pins and get out whatever you choose to use to get that Valentine's day feel. The original pin says ricrac but I used some lace.
Lay it out on your heart shape and pin it in place. You're going to want all the lacy bits that you want to poke out around the edges to be facing inward.
Then pin the other two pieces in place. Make sure that all pins you are using can either be sewn over or are far enough in to hold things in place and not interfer with your sewing.
Sew all around the edges.
Flip the heart so that it is now right side out.
Then top-stitch all around the edges.
DONE! A pin well worth trying!
Today's pintest comes via this pin and the info found here.
The directions say you will need to make your own template or that you can print out the one provided. I'd printed it out but then lost it so I made my own.
I started by taking a manilla folder that wasn't being used and traced the outline of my hand. Try to center your hand over the fold.
Once you outline your hand fold the folder in half
and free hand a heart design that you find pleasing and that should encompass your hand.
Following your own guideline, cut out the heart.
Et viola - you have your template.
Place your template on the fabric you intend to use to make your hot pads and pin it in place. I layed my fabric in a way that would leave me cutting 4 pieces out at once - you can do one at a time or fold like I did.
Cut around your template.
You should now (or very soon depending on if you're cutting one at a time) have four hearts.
Get out your insul-bright.
Lay it out so that you are either cutting one or two pieces at a time. Pin your heart template to the insul-bright.
Carefully, once again cut around your heart template. You should now have two pieces of insulated fabric.
Cut one of your two pieces of insulbrite in half. Take one of your pieces of heart fabric. Place the insul-bright inside, fold your heart over and pin in place. Do this to one more of your cut pieces of heart fabric.
Take one of your pieces of heart fabric and set it with the right side facing down. Place a piece of insul-bright in the center. Place your remaining piece of heart shaped fabric on top and pin all three pieces together.
You should now have three pieces pinned together and nearly ready to sew. This was the point where I decided to trim all of my edges. Then remove your pins and get out whatever you choose to use to get that Valentine's day feel. The original pin says ricrac but I used some lace.
Lay it out on your heart shape and pin it in place. You're going to want all the lacy bits that you want to poke out around the edges to be facing inward.
Then pin the other two pieces in place. Make sure that all pins you are using can either be sewn over or are far enough in to hold things in place and not interfer with your sewing.
Sew all around the edges.
Flip the heart so that it is now right side out.
Then top-stitch all around the edges.
DONE! A pin well worth trying!
Labels:
craft,
crafts,
february,
heart hot pad,
heart hot pads,
hearts day,
home,
hot pad,
hot pads,
insulating fabric,
insulbrite,
kitchen,
pintest,
pintrest,
pot holder,
pot holders,
sewing,
valentines day
Friday, February 8, 2013
Getting Picky With A Pin - Making Butter
We go through quite a bit of butter. Lately it seems we go through two boxes of butter every two weeks. What can I say? I'm a real fat kinda girl - none of that fake stuff is welcome here.
A little tired of regularly having to buy butter, always happy to have a bit more control over what's in what my family eats, and seeing an opportunity to cut down waste (the container, those papers I'm certain have to be coated with plastic, etc.) - I opted to just make my own butter.
Today's pintest comes via this pin and the information found here.
It would have been super simple for me to run to the closest grocery store and grab store brand heavy cream to make my butter but that's not what I wanted if I were going to make my own. I wanted Snowville Creamery Heavy Whipping Cream.
Snowville Creamery is a local creamery where the cows are grass fed, their products are pasteurized at the lowest possible temperature, no homogenization, no rBST, and no antibiotics - with that as a completely viable option I saw no reason to go any other direction with this.
Knowing that a local but not as close as I usually use grocery store carried Snowville Creamery milk I made sure to call ahead and ask if they carried their heavy cream. They did not. The hunt was on. I called a natural market I like but they were out. I called a grocery store waaaaaaaaaaaaaaaaaaaaaaaaaaaaaaaaay on the other side of town and they had some. Thankfully I didn't have to go quite that far, two stores between my home and the grocery store that was tremendously out of my way had it in stock.
Having traveled off my regularly beaten path I opted to get myself two additional treats while I was there.
I'll level with you - this wasn't a cheap trip. The heavy cream, the milk, and my chia drink brought me to a total of $18.
This half gallon of heavy whipping cream will allow me to make this recipe twice. For one batch use 4 cups (2 pints) of the heavy cream.
Hunting down the cream I wanted so badly was the hard part. Here come's the easy part.
I sterilized some jars that I wanted to store the butter in. All of the excess I intended to freeze. If you plan to do the same make sure not to fill your jars past the freezer fill line if they have one - otherwise your jar will break.
Gather your ingredients.
Pour your cream into your food processor. And get to processing. After a while it will look like beautiful whipped butter a bit like you see in the tub. Don't be fooled. You aren't finished yet.
What we need is for the cream to separate from the milk. Process until it looks like this.
Once it does give it another shot with the processor for good measure.
Two pints of heavy cream/butter seperated left me with this much buttermilk.
Squeeze out as much of the additional buttermilk from the butter as you can. Then add salt to taaste I added 1/4 tsp of kosher salt.
Then place it into your sterilized jars.
My entire first batch of butter was going to be frozen. After I made my second batch I kept 1 half-pint container out to make the hubs a special breakfast.
A little tired of regularly having to buy butter, always happy to have a bit more control over what's in what my family eats, and seeing an opportunity to cut down waste (the container, those papers I'm certain have to be coated with plastic, etc.) - I opted to just make my own butter.
Today's pintest comes via this pin and the information found here.
It would have been super simple for me to run to the closest grocery store and grab store brand heavy cream to make my butter but that's not what I wanted if I were going to make my own. I wanted Snowville Creamery Heavy Whipping Cream.
Snowville Creamery is a local creamery where the cows are grass fed, their products are pasteurized at the lowest possible temperature, no homogenization, no rBST, and no antibiotics - with that as a completely viable option I saw no reason to go any other direction with this.
Knowing that a local but not as close as I usually use grocery store carried Snowville Creamery milk I made sure to call ahead and ask if they carried their heavy cream. They did not. The hunt was on. I called a natural market I like but they were out. I called a grocery store waaaaaaaaaaaaaaaaaaaaaaaaaaaaaaaaay on the other side of town and they had some. Thankfully I didn't have to go quite that far, two stores between my home and the grocery store that was tremendously out of my way had it in stock.
Having traveled off my regularly beaten path I opted to get myself two additional treats while I was there.
I'll level with you - this wasn't a cheap trip. The heavy cream, the milk, and my chia drink brought me to a total of $18.
This half gallon of heavy whipping cream will allow me to make this recipe twice. For one batch use 4 cups (2 pints) of the heavy cream.
Hunting down the cream I wanted so badly was the hard part. Here come's the easy part.
I sterilized some jars that I wanted to store the butter in. All of the excess I intended to freeze. If you plan to do the same make sure not to fill your jars past the freezer fill line if they have one - otherwise your jar will break.
Gather your ingredients.
Pour your cream into your food processor. And get to processing. After a while it will look like beautiful whipped butter a bit like you see in the tub. Don't be fooled. You aren't finished yet.
What we need is for the cream to separate from the milk. Process until it looks like this.
Once it does give it another shot with the processor for good measure.
Two pints of heavy cream/butter seperated left me with this much buttermilk.
Squeeze out as much of the additional buttermilk from the butter as you can. Then add salt to taaste I added 1/4 tsp of kosher salt.
Then place it into your sterilized jars.
My entire first batch of butter was going to be frozen. After I made my second batch I kept 1 half-pint container out to make the hubs a special breakfast.
Subscribe to:
Posts (Atom)