After my recent attempt to make cotton beeswax cloth you may remember I made a little mess of my new food processor. I put it into the dishwasher without a second thought and I really wish I would have thought a few minutes more before I did it.
Wash, after wash, after wash, after wash, after wash and my dishes still looked like this.
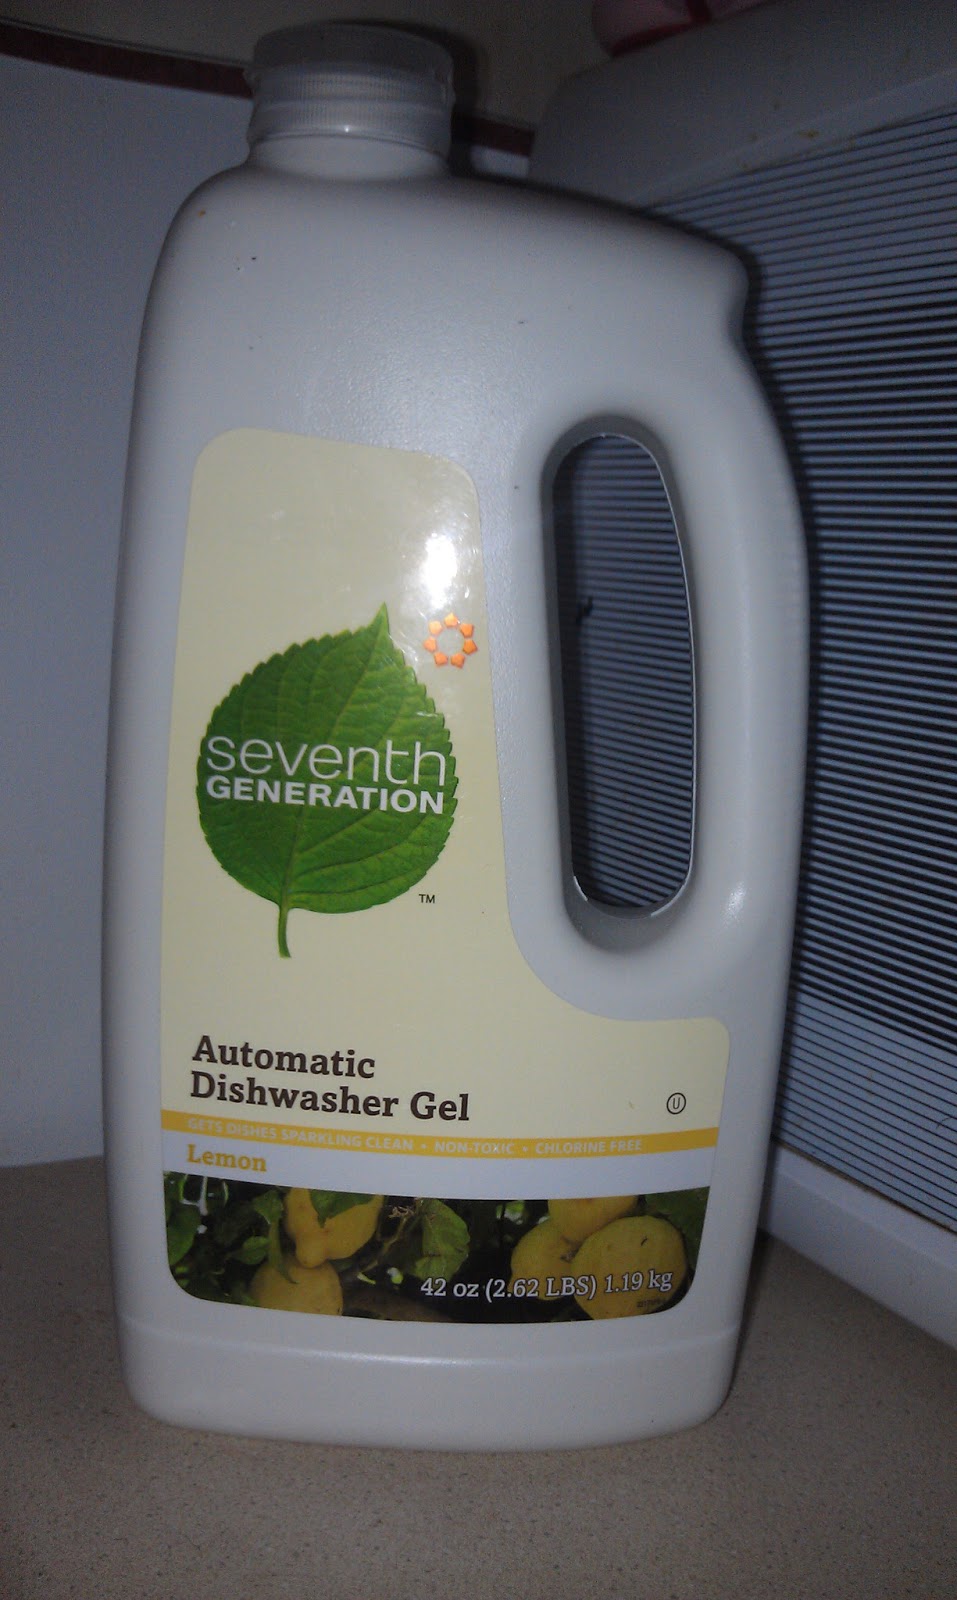
I tried my usual seventh generation dishwasher cleaner a couple times.
I tried seventh generation with a white vinegar chaser.
I tried baking soda in the washing compartment and a vinegar chaser.
It still looked bad . . verging on hopeless.
When you search online for ways to clean beeswax off of your dishes you really don't come back with much. This fact is only made worse when you have a dishwasher full of really messed up, beeswax coated dishes.
Eventually I came across a post where a woman mentioned the use of Goo Gone. I don't have any and I don't know a lot of about what's in it. Did I mention it was also snowing?
Alright Pintrest don't fail me now. I looked up DIY Goo Gone, deciding to put whatever I came up with into the dishwasher and hope that I didn't make the problem 917,230,127,471,934,279,842,703,827,598,709,835,709,482 times worse - which at the rate I was going seemed a lock.
The first pin I clicked and began to look at involved vitamin E oil, already having a lot of other uses for my vitamin E oil and preferring not to use it for this until I had to I chose a different one.
This one called for a 1:1 ratio of baking soda and vegetable oil. I knew I had baking soda and was relatively certain that I had vegetable oil. I thought to myself, "I'm DOIN' this!" - not like I felt like I had much other choice at this point.
Things get really serious in my kitchen pretty quickly.
I mixed my 1:1 using the last clean measuring cup I could find.
Mix it well - I only had about 4 spoons left, two of which were absinthe spoons, and another was an iced tea spoon.
Classy right? For anyone interested my absinthe spoons are reproductions of the type Henri de Toulouse-Lautrec used.
I poured approximately 1/3 cup of my goo gone into the washing compartment, turned on my washing machine and hoped my greatest hope that it would work.
After a cycle through the washing machine things were looking a bit cleaner albeit they felt a little oily.
Considering this a good sign I ran it again with my homemade Goo Gone to be followed up with vinegar.
Still oily but everything looked clean enough to clean it the usual way. The result was a bit dissapointing. Still oily, looked cleaner than it all began, but it seemed quite a bit of residue was still there!
I opted to change my game a bit and use this pin which calls to do the same thing as before but uses borax. I put the mixture on the dishes and left it to sit for a little while and then ran the dishwasher with the previous mix.
The dishes were improving but they still weren't coming out as clean as I needed. But after a day of trying to ash them the usual way and without any dish washing detergent and then today I needed a break. I'd have to try again the next day.
Showing posts with label natural cleaning. Show all posts
Thursday, May 2, 2013
Saturday, February 23, 2013
Revisiting Chemical Free Laundry Detergent
My very first try at making laundry detergent was acceptable but I didn't feel as wowed by the whole experience as I wanted and for a short period actually went back to using store bought (yet still locally made) laundry detergent. This is a fact that I feel worked out for me in the end because it left me with more suitable containers for my home made laundry detergent than I was previously using.
With a new baby on the way I've been considering making a bit more to have at the ready and storing it in empty milk jugs (I don't throw ours away. You might be surprised how often you can find another use for an empty milk jug.) Keep your eyes open for containers around your house in which to store this almost amount of laundry soap.
To begin you will need a bar of Fels-Naptha soap (which I shamefully purchase at my local WalMart), Borax (also purchased at WalMart, it can be found in the laundry aisle), and one of both of these optional ingredients I have also been using - tamanau oil and tee tree oil.
Begin by grating your bar of Fels-Naptha soap. I like to grate as finely as possibly so it will dissolve quickly and easily. Doing this over a large container like a bucket seems to be helpful because it catches shavings that might otherwise just sit next to you on your chair.
Once it's grated, if it isn't already in a large bucket or container, put it in one. The first times I made my detergent I used the largest pot I had available in the house.
Now, I have what I call my, "making stuff bucket" - it's a 3 gallon bucket that was given to me by my husbands grandmother.
You could also consider using something like an emptied out and thoroughly clean cat littler bucket - those are pretty large.
With your grated soap now in your bucket add a bit of hot water. I run my tap and let the water get as hot as it can. I add just enough to swish it around really well and dissolve it. Stir vigorously with whatever you've got on hand - I usually use a slotted or perforated spoon to get everything moving around really well.
Once you feel satisfied about how much of the soap you have gotten to dissolve add more hot water. You really don't need to finish filling the bucket just yet. Now add one cup of borax and vigorously mix once again. Sometimes the borax gets clumpy and if it does that it can leave you with lumps you later need to get out of your soap. It wont hurt anything but it can be a bit annoying. I've even plunged my hand into the bucket once or twice to finish breaking up offending clumps.
Your borax should now be dissolved into your mixture. Here is where the optional portion comes in. I add either 100 drops of tea tree oil or 50 drops of tamanau oil followed by 50 drops of tee tree oil. These oils have amazing anti-fungal and antiseptic qualities and I really feel they give my soap a phenomenal boost.
Finish filling your bucket with hot water - like I said I work with a three gallon bucket, if your container is smaller your soap will be a bit more potent or even thicker, we can take care of that later. Give your laundry soap another really good stir and then set it aside overnight.
When it's ready you should have a very thick gel in your bucket. When I try and finish up sooner than 24 hours I check to see if the mixture is ready by just jostling the bucket and seeing how solidly gelled it seems to be. If it's relatively immobile (meaning no sloshing) but shakes a little bit like jello (not exactly like jello but close enough) your soap can be considered ready.
In the past I used spoons to stir and break up my laundry detergent, this left me with what seems to be a common complaint/problem people have with making their own detergent. To really break it up and get it the best possible consistency (in my mind at least) I use an immersion blender. If you don't have an immersion blender I don't see a lot of reason why you can't try and have good success using your regular kitchen blender.
Once you now have a nice fluid you're ready to begin transferring it to the containers you plan to keep your soap in. I have four old laundry containers. Using a metal ladle because it seems to work the best with this fluid, I carefully begin filling each jug approximately half-way.
Once all of them are (half-way) full, add water, It really doesn't have to be hot water now so I just use whatever temperature comes out of the tap. Shake your container up really well to get it mixed together and you're done. Just put your laundry jugs wherever you keep them when not in use and they will patiently wait for you until you call upon them.
For anyone who was using a smaller container to mix their laundry detergent you can solve the issue of how much water you originally had by just evenly dispersing your soap across the amount of container you intend to use. Because I'm not there with you and have no idea what size container you are using as a general rule of thumb I won't recommend filling your container more than half-way with detergent. Try all of this out on only your first container so that you have the best chance of ending this experience positively.
Now that you've filled this "mystery container" half-way with laundry detergent, fill it the rest of the rest of the way with water. Shake the container and look to see how happy you are with the consistency. The key for me really seems to be evenly dispersing the amount of laundry soap across the amount of containers I plan to use.
I owe a lot of the success I now have in making my laundry detergent to the immersion blender my mother so kindly gifted me (she wasn't using it.) Thoroughly blending your detergent yields the highest rate of success in creating a laundry detergent that isn't lumpy.
With a new baby on the way I've been considering making a bit more to have at the ready and storing it in empty milk jugs (I don't throw ours away. You might be surprised how often you can find another use for an empty milk jug.) Keep your eyes open for containers around your house in which to store this almost amount of laundry soap.
To begin you will need a bar of Fels-Naptha soap (which I shamefully purchase at my local WalMart), Borax (also purchased at WalMart, it can be found in the laundry aisle), and one of both of these optional ingredients I have also been using - tamanau oil and tee tree oil.
Begin by grating your bar of Fels-Naptha soap. I like to grate as finely as possibly so it will dissolve quickly and easily. Doing this over a large container like a bucket seems to be helpful because it catches shavings that might otherwise just sit next to you on your chair.
Once it's grated, if it isn't already in a large bucket or container, put it in one. The first times I made my detergent I used the largest pot I had available in the house.
Now, I have what I call my, "making stuff bucket" - it's a 3 gallon bucket that was given to me by my husbands grandmother.
You could also consider using something like an emptied out and thoroughly clean cat littler bucket - those are pretty large.
With your grated soap now in your bucket add a bit of hot water. I run my tap and let the water get as hot as it can. I add just enough to swish it around really well and dissolve it. Stir vigorously with whatever you've got on hand - I usually use a slotted or perforated spoon to get everything moving around really well.
Once you feel satisfied about how much of the soap you have gotten to dissolve add more hot water. You really don't need to finish filling the bucket just yet. Now add one cup of borax and vigorously mix once again. Sometimes the borax gets clumpy and if it does that it can leave you with lumps you later need to get out of your soap. It wont hurt anything but it can be a bit annoying. I've even plunged my hand into the bucket once or twice to finish breaking up offending clumps.
Your borax should now be dissolved into your mixture. Here is where the optional portion comes in. I add either 100 drops of tea tree oil or 50 drops of tamanau oil followed by 50 drops of tee tree oil. These oils have amazing anti-fungal and antiseptic qualities and I really feel they give my soap a phenomenal boost.
Finish filling your bucket with hot water - like I said I work with a three gallon bucket, if your container is smaller your soap will be a bit more potent or even thicker, we can take care of that later. Give your laundry soap another really good stir and then set it aside overnight.
When it's ready you should have a very thick gel in your bucket. When I try and finish up sooner than 24 hours I check to see if the mixture is ready by just jostling the bucket and seeing how solidly gelled it seems to be. If it's relatively immobile (meaning no sloshing) but shakes a little bit like jello (not exactly like jello but close enough) your soap can be considered ready.
In the past I used spoons to stir and break up my laundry detergent, this left me with what seems to be a common complaint/problem people have with making their own detergent. To really break it up and get it the best possible consistency (in my mind at least) I use an immersion blender. If you don't have an immersion blender I don't see a lot of reason why you can't try and have good success using your regular kitchen blender.
Once you now have a nice fluid you're ready to begin transferring it to the containers you plan to keep your soap in. I have four old laundry containers. Using a metal ladle because it seems to work the best with this fluid, I carefully begin filling each jug approximately half-way.
Once all of them are (half-way) full, add water, It really doesn't have to be hot water now so I just use whatever temperature comes out of the tap. Shake your container up really well to get it mixed together and you're done. Just put your laundry jugs wherever you keep them when not in use and they will patiently wait for you until you call upon them.
For anyone who was using a smaller container to mix their laundry detergent you can solve the issue of how much water you originally had by just evenly dispersing your soap across the amount of container you intend to use. Because I'm not there with you and have no idea what size container you are using as a general rule of thumb I won't recommend filling your container more than half-way with detergent. Try all of this out on only your first container so that you have the best chance of ending this experience positively.
Now that you've filled this "mystery container" half-way with laundry detergent, fill it the rest of the rest of the way with water. Shake the container and look to see how happy you are with the consistency. The key for me really seems to be evenly dispersing the amount of laundry soap across the amount of containers I plan to use.
I owe a lot of the success I now have in making my laundry detergent to the immersion blender my mother so kindly gifted me (she wasn't using it.) Thoroughly blending your detergent yields the highest rate of success in creating a laundry detergent that isn't lumpy.
Labels:
chem free,
chemical free,
chemical free cleaning,
cleaning,
detergent,
EOs,
essential oils,
laundry detergent,
laundry soap,
natural cleaning,
revisiting,
tamanu oil,
tea tree oil,
washing
Monday, January 7, 2013
Pintesting - Citrus and Vinegar Cleanser
It's been approximately ten days from when I set up my lemon & vinegar cleaner. An idea I got from this pin and information I got here.
I strained out the lemon peels.
Put the peels in a bag for composting.
And then put the resulting liquid in a spray bottles to use in my cleaning around the house.
About 2 days after I put together my lemon mix I also did the same with some oranges. My family wasn't eating them unless I peeled them for them so I peeled the last 4 or 5 oranges and put the edible portion in a container.
And the peelings in a mason jar.
Which I again filled with vinegar.
Once again I waited the ten days.
Strained out the orange peels. Put the peels into my compost bag.
Put the resulting liquid into a spray bottles.
Then I got to cleaning with my new cleansers.
My stove top before.
And after. Still needs a little extra elbow grease but you see how well this went.
The vinegar smell doesn't last very long and you are left with a very lovely, very light citrus smell.
I strained out the lemon peels.
Put the peels in a bag for composting.
And then put the resulting liquid in a spray bottles to use in my cleaning around the house.
About 2 days after I put together my lemon mix I also did the same with some oranges. My family wasn't eating them unless I peeled them for them so I peeled the last 4 or 5 oranges and put the edible portion in a container.
And the peelings in a mason jar.
Which I again filled with vinegar.
Once again I waited the ten days.
Strained out the orange peels. Put the peels into my compost bag.
Put the resulting liquid into a spray bottles.
Then I got to cleaning with my new cleansers.
My stove top before.
And after. Still needs a little extra elbow grease but you see how well this went.
The vinegar smell doesn't last very long and you are left with a very lovely, very light citrus smell.
Thursday, December 27, 2012
Two Pintests In One! Chemical-Free Cleaning
The other day I saw a lemon bar recipe I really wanted to try. After spending an entire day feeling awful I decided I would make some lemon bars for my husband and myself. My lemons were about ready to be thrown away but the zest still looked viable - or viable enough.
After standing in the kitchen for an indeterminate amount of time zesting lemons my husband told me he didn't like lemon bars. He'd eat a few - but isn't a lemon bar fan. Completely uninterested in wasting lemons, possibly overloading the worms I'm planning to use in composting with citrus, or being left to eat all of the lemon bars myself - I remembered a couple of pins I felt would be useful.
The first pin provides some info on how to whiten your whites that have become dingy.
The second felt like a good plan about what to do about my lemon rinds.
I cut off all of my lemon rinds and placed them in a Mason jar for later.
Meanwhile I cut up my lemons. Placed them in a large pot.
Filled it with water and dropped in about half of the lemons I now had.
Once the water began to boil I put some of my husbands dingy shirts into the water. It appeared I'd been too cautious about water displacement and ended up needing to add more very hot water to the mix.
I let the water come back up to a boil. Turned off the heat. Put a lid on my pot and let it sit for an hour.
After that first "load" I decided to do another containing minky inserts for my little lamb's cloth diapers.
I didn't have any clean Mason lids so I had to clean some. Once they were ready to go I filled the Mason jar containing the lemon rinds with vinegar.
If you noticed in my first photo I have the lemons on one of my UnPaper towels. I chose to cut them on that because I didn't feel like doing any dishes or getting out my cutting board. Cutting the lemons this way left me with a nice lemon cloth that I used to scrub my kitchen sink!
When I finally finished boiling whites I strained the lemons to be composted later.
The instructions for your new vinegar cleaner is to let your jar sit for 10 days. So . . . . I guess I'll be concluding this in around 10 days?
After standing in the kitchen for an indeterminate amount of time zesting lemons my husband told me he didn't like lemon bars. He'd eat a few - but isn't a lemon bar fan. Completely uninterested in wasting lemons, possibly overloading the worms I'm planning to use in composting with citrus, or being left to eat all of the lemon bars myself - I remembered a couple of pins I felt would be useful.
The first pin provides some info on how to whiten your whites that have become dingy.
The second felt like a good plan about what to do about my lemon rinds.
I cut off all of my lemon rinds and placed them in a Mason jar for later.
Meanwhile I cut up my lemons. Placed them in a large pot.
Filled it with water and dropped in about half of the lemons I now had.
Once the water began to boil I put some of my husbands dingy shirts into the water. It appeared I'd been too cautious about water displacement and ended up needing to add more very hot water to the mix.
I let the water come back up to a boil. Turned off the heat. Put a lid on my pot and let it sit for an hour.
After that first "load" I decided to do another containing minky inserts for my little lamb's cloth diapers.
I didn't have any clean Mason lids so I had to clean some. Once they were ready to go I filled the Mason jar containing the lemon rinds with vinegar.
If you noticed in my first photo I have the lemons on one of my UnPaper towels. I chose to cut them on that because I didn't feel like doing any dishes or getting out my cutting board. Cutting the lemons this way left me with a nice lemon cloth that I used to scrub my kitchen sink!
When I finally finished boiling whites I strained the lemons to be composted later.
The instructions for your new vinegar cleaner is to let your jar sit for 10 days. So . . . . I guess I'll be concluding this in around 10 days?
Thursday, December 20, 2012
Pintesting - Chemical Free Cleaning Let's Kill Some Mold!!
Mold is a problem I have run into more often than I would care to over the last few years. We ran into it the last place we lived and we've run into it a few times in the current place we are.
The places that we have these issues are in our bathroom over the shower area,
and in the laundry room in a few spots.
Typically if you call your landlord or leasing office and complain about mold they send someone out to spray or wipe the area with bleach. In the past we have done this as well because using bleach really does work, but we now no longer keep bleach in our home.
Today's pintest comes from the information you can read right on this pin.
I purchased my spray bottle at my nearest Jo-Ann Fabrics (and I of course made sure to use a coupon.)
The tea tree oil I purchased via Amazon.
For each cup of water you use, add one teaspoon of tea tree oil. This bottle held nearly 3 cups of water so I used 3 teaspoons of tea tree oil.
Instead of trying my very hardest to neatly pour the water into my spray bottle I used one of the funnels that come with a flask.
I noticed an immediate difference when I sprayed the wall but didn't get the full effect until I wiped the surface as well.
I wasn't going to be able to get back behind our makeshift pantry so it looked as if this would have to be a job for my husband.
I didn't notice a lot of change in the bathroom but I felt maybe that area would need to be wiped as well so once again I was going to have to wait for my tall husband to come home to give it a try.Wiping did indeed help.
This is definitely a pin worth trying. Especially for those who are either to live chemical free lives or even pregnant women who shouldn't be cleaning with harsh chemicals.
The places that we have these issues are in our bathroom over the shower area,
and in the laundry room in a few spots.
Typically if you call your landlord or leasing office and complain about mold they send someone out to spray or wipe the area with bleach. In the past we have done this as well because using bleach really does work, but we now no longer keep bleach in our home.
Today's pintest comes from the information you can read right on this pin.
I purchased my spray bottle at my nearest Jo-Ann Fabrics (and I of course made sure to use a coupon.)
The tea tree oil I purchased via Amazon.
For each cup of water you use, add one teaspoon of tea tree oil. This bottle held nearly 3 cups of water so I used 3 teaspoons of tea tree oil.
Instead of trying my very hardest to neatly pour the water into my spray bottle I used one of the funnels that come with a flask.
I noticed an immediate difference when I sprayed the wall but didn't get the full effect until I wiped the surface as well.
I wasn't going to be able to get back behind our makeshift pantry so it looked as if this would have to be a job for my husband.
I didn't notice a lot of change in the bathroom but I felt maybe that area would need to be wiped as well so once again I was going to have to wait for my tall husband to come home to give it a try.Wiping did indeed help.
This is definitely a pin worth trying. Especially for those who are either to live chemical free lives or even pregnant women who shouldn't be cleaning with harsh chemicals.
Subscribe to:
Posts (Atom)


